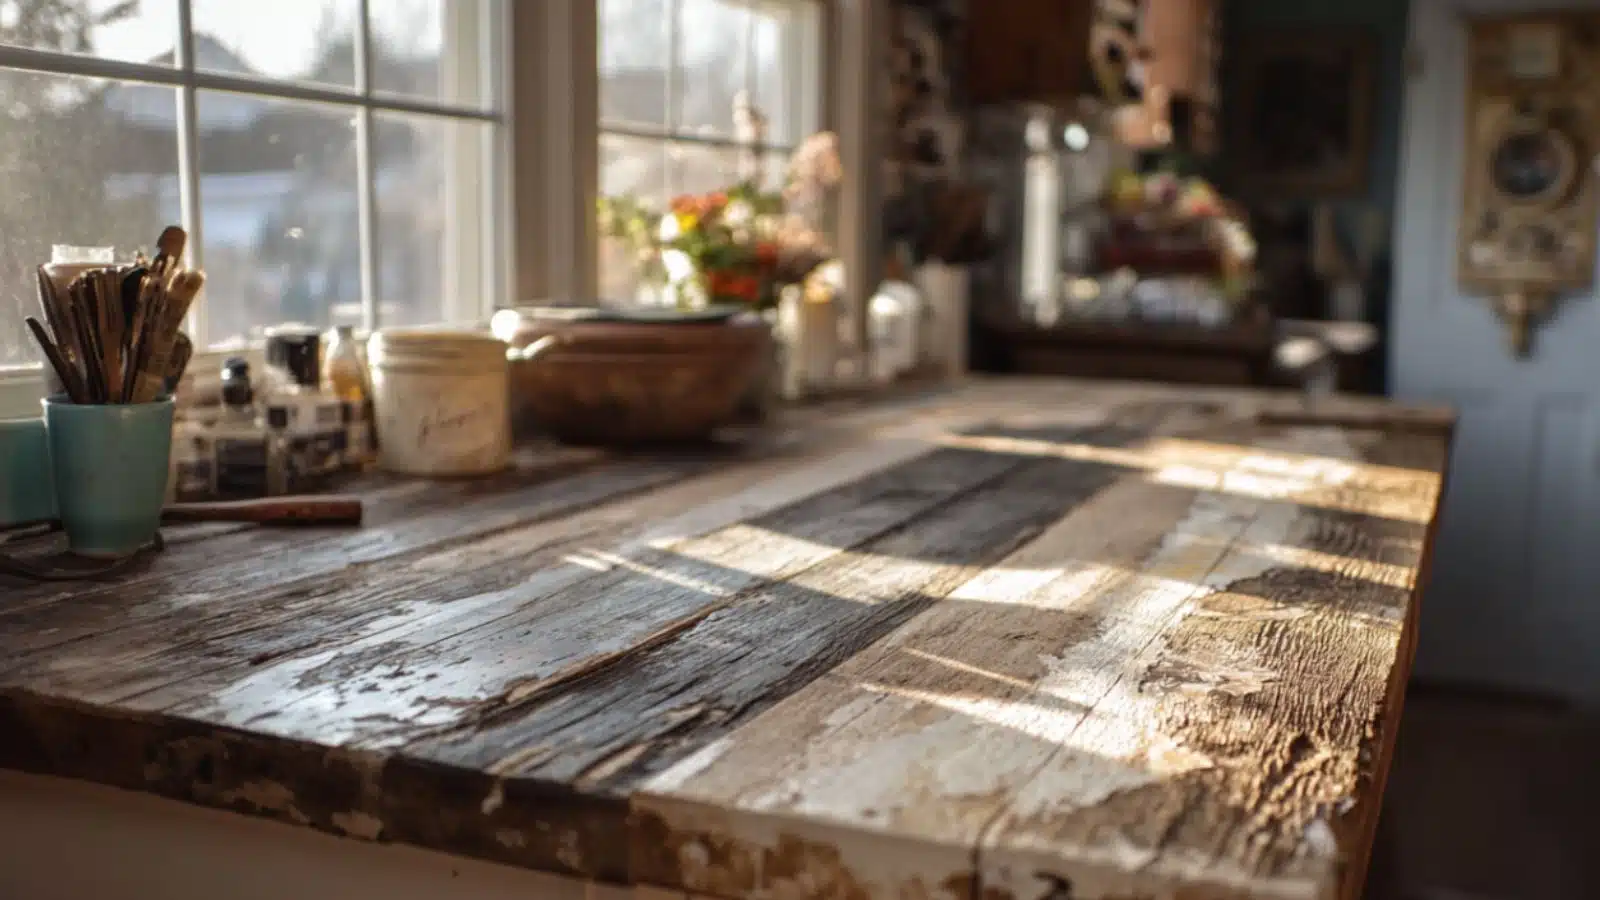
Kitchen Table Makeover Ideas with Distressed Finish
Table of Contents
The kitchen table is more than a piece of furniture—it’s where stories are shared, meals are served, and memories are made. Over time, even the most beloved table starts to show its wear. Instead of replacing it, why not embrace its history with a distressed finish makeover?
A distressed kitchen table combines beauty and character, offering that perfect lived-in charm. This style is ideal for farmhouse, cottagecore, rustic, and even modern interiors looking for a warm, vintage touch. In fact, the popularity of distressed finishes has only grown as more homeowners embrace cozy, layered aesthetics. What makes it even better? You can achieve the look yourself, often with minimal tools and a weekend’s worth of work.
In this post, we’ll explore a variety of kitchen table makeover ideas that incorporate distressed finishes—from painting and sanding techniques to creative stains and layered looks. You’ll find practical guidance, styling ideas, and visuals to help inspire your own DIY project. Whether you want a soft weathered wood look or bold chippy paint charm, this guide will help you breathe new life into your kitchen’s most hardworking surface.
The Basics of Distressing: What You Need to Know Before You Start
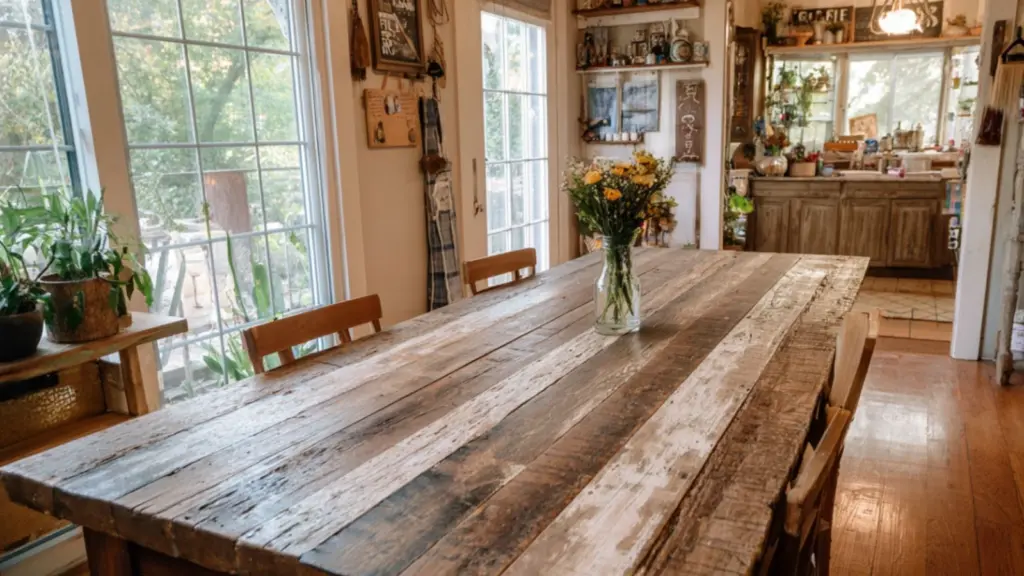
Before diving into the makeover, it’s important to understand what a distressed finish really is—and what it isn’t. Unlike damage or decay, distressing is an intentional technique that mimics the wear-and-tear of time, often using sandpaper, paint layering, or specialty tools.
Key considerations for a successful distressing project:
| Element | Notes |
|---|---|
| Table Material | Solid wood is ideal; veneer may require special care |
| Desired Look | Subtle wear vs. bold chippy paint—plan your aesthetic beforehand |
| Tools Needed | Sandpaper, wire brush, paint scraper, wax, or stain |
| Prep Time | Proper sanding and cleaning are critical for best results |
If your table has existing paint or stain, you’ll want to strip or sand it down before applying new finishes. Pay special attention to corners and edges—these are prime spots for natural-looking wear.
Whitewashed Wood for a Soft, Coastal Vibe
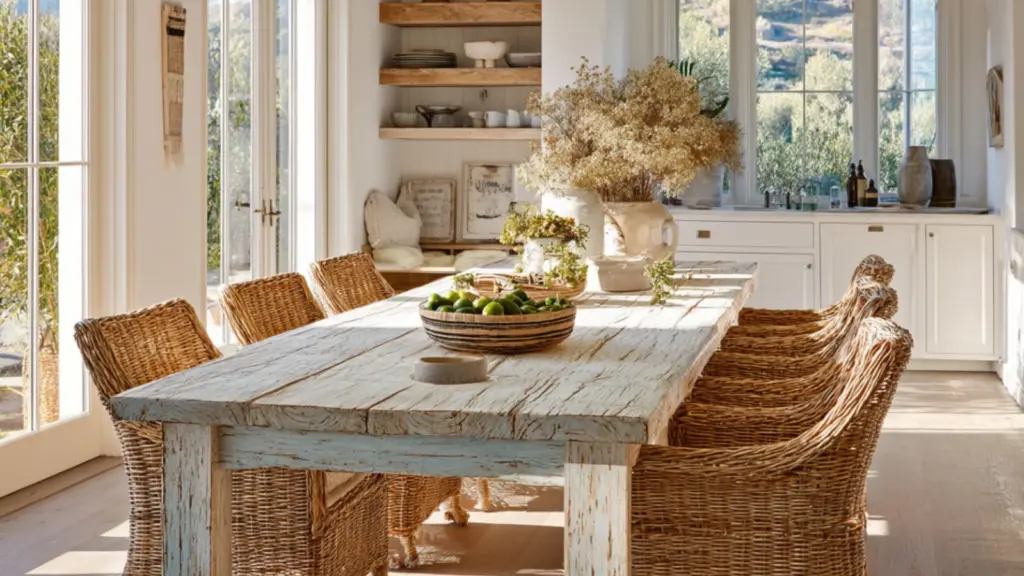
One of the most approachable distressed looks is the whitewashed finish. It offers subtle aging while keeping the room light and airy—ideal for coastal, Scandinavian, or farmhouse kitchens.
Steps to create a whitewashed distressed finish:
| Step | Description |
|---|---|
| Sand the table | Remove old finish and rough up the surface |
| Mix white paint + water | 1:1 ratio creates a translucent effect |
| Apply with cloth or brush | Wipe off excess immediately for a natural look |
| Seal with matte topcoat | Protects the finish while keeping it soft and subtle |
The beauty of whitewashing is how it highlights the wood grain, giving texture without overpowering the room. Pair it with linen runners, woven chargers, and neutral dishware for a complete look.
Chippy Paint Charm for Vintage Appeal
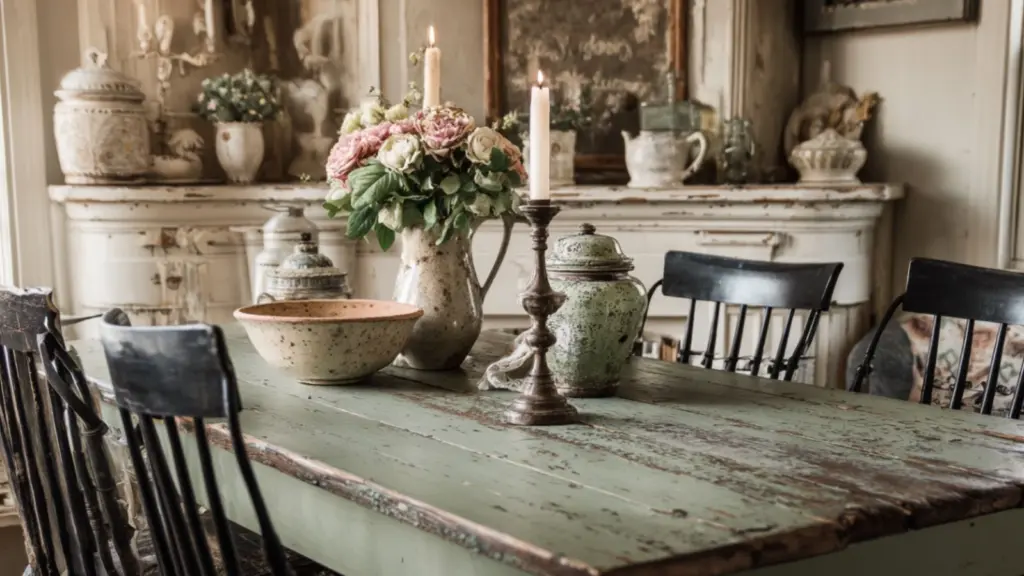
If you’re drawn to antique markets, old barn finds, and French country flair, chippy paint is your best friend. This distressed style layers multiple paint colors and uses scraping or sanding to reveal what’s beneath.
How to achieve a chippy paint finish:
| Step | Tips and Techniques |
|---|---|
| Start with a base coat | Use a dark or bold color as your “underlayer” |
| Apply candle wax | Rub wax randomly where you want paint to chip |
| Paint top layer | Use a contrasting shade (e.g., white over navy or sage over black) |
| Distress with scraper | Gently scrape edges and waxed areas once dry |
| Finish with sealant | Use matte polyurethane or wax finish for durability |
Pro tips for authentic results:
- Use a chip brush instead of a roller for streaky, imperfect lines.
- Let the undercoat peek through in natural “wear zones” like corners and leg bases.
- Experiment with one or two color layers depending on how bold you want the effect to be.
Chippy paint lends itself to styling with antique brass candlesticks, enamelware pitchers, or floral runners. It’s perfect for creating that heirloom look without waiting 50 years.
Weathered Gray for a Farmhouse-Industrial Edge
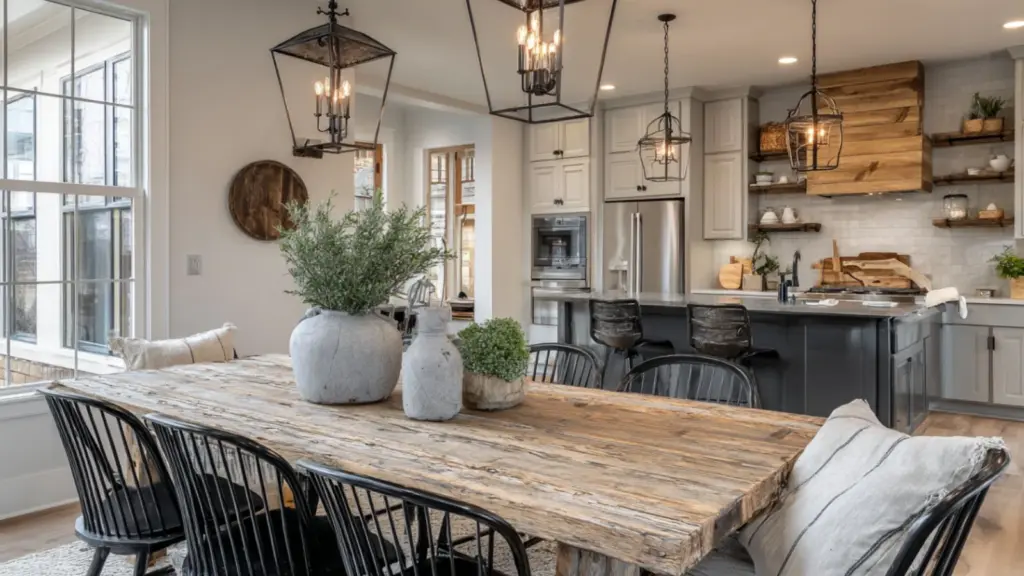
Gray-washed wood is a modern classic that works in both rustic and urban settings. It provides a more neutral, contemporary distressed finish while still feeling natural and cozy.
Gray weathering methods:
| Technique | How It Works |
|---|---|
| Steel wool + vinegar | Reacts with tannins in wood for organic gray aging |
| Gray stain | Offers consistent results and a smoother finish |
| Layered dry brushing | Apply diluted gray paint over sanded wood and wipe back |
Gray finishes look stunning with black matte hardware, galvanized metal chairs, and industrial pendant lights. They work especially well on thick farmhouse tables or butcher-block-style surfaces.
Layering Paint and Stain for Depth and Texture
For a unique take, try combining stain and paint layers to build texture and depth. This method works well if you want a one-of-a-kind look that doesn’t feel overly rustic or pristine.
Step-by-step for a layered finish:
| Step | Details |
|---|---|
| Apply wood stain base | Use walnut or espresso for rich undertones |
| Lightly sand after drying | Reveals texture and tones |
| Apply chalk paint layer | Brush on unevenly for variation |
| Sand selectively | Focus on edges, corners, or flat surfaces to expose both layers |
| Seal with clear wax | Adds a soft luster and protects the finish |
This method is great for tables that double as workstations, homework hubs, or art spaces—it hides wear beautifully while maintaining style.
Styling Your Newly Distressed Table
Once your table is beautifully distressed, styling it becomes a joy. The finish should influence how you accessorize—lean into the rustic, aged character by choosing complementary materials and tones.
Styling ideas for different distressed finishes:
| Distressed Look | Styling Accents to Match |
|---|---|
| Whitewashed | Neutral linens, woven textures, ceramic vases, fresh greenery |
| Chippy Paint | Vintage enamelware, antique-style runners, mismatched dish sets |
| Weathered Gray | Industrial chairs, metal lanterns, black flatware |
| Layered Stain + Paint | Warm-tone pottery, reclaimed wood accessories, artisan candles |
Tabletop centerpiece suggestions:
- A low wooden bowl filled with seasonal fruit
- A stack of worn cookbooks with a small vase of wildflowers
- A rustic tray holding candles, coasters, and a ceramic pitcher
Keep things simple—let the table’s finish be the star. Avoid heavy tablecloths that hide your handiwork. A narrow runner or set of placemats can frame the look while still showing off the texture.
Distressed Legs, Natural Top: Mixing Finishes for Contrast
Another popular look is mixing a distressed paint finish on the table base with a natural or stained wood top. This two-tone style creates visual contrast and feels especially grounded in farmhouse design.
How to achieve the look:
| Area | Finish Ideas |
|---|---|
| Tabletop | Sanded down and stained (walnut, honey, or driftwood tones) |
| Legs/Base | Chalk paint + wax, chippy paint, or light distressing |
| Sealant | Use food-safe polyurethane for the top, soft wax for painted base |
This combo adds visual interest without overwhelming the space and pairs beautifully with upholstered chairs or mixed metal accents.
Conclusion
A kitchen table with a distressed finish isn’t just a makeover—it’s a transformation that brings warmth, history, and personality to your space. Whether you opt for soft whitewashing, bold chippy paint, or weathered gray tones, these techniques offer both beauty and function.
The distressed look celebrates imperfection, invites creativity, and makes even the newest table feel like a family heirloom. With just a few tools and a little inspiration, your old table can become the centerpiece of a kitchen that feels uniquely yours.

