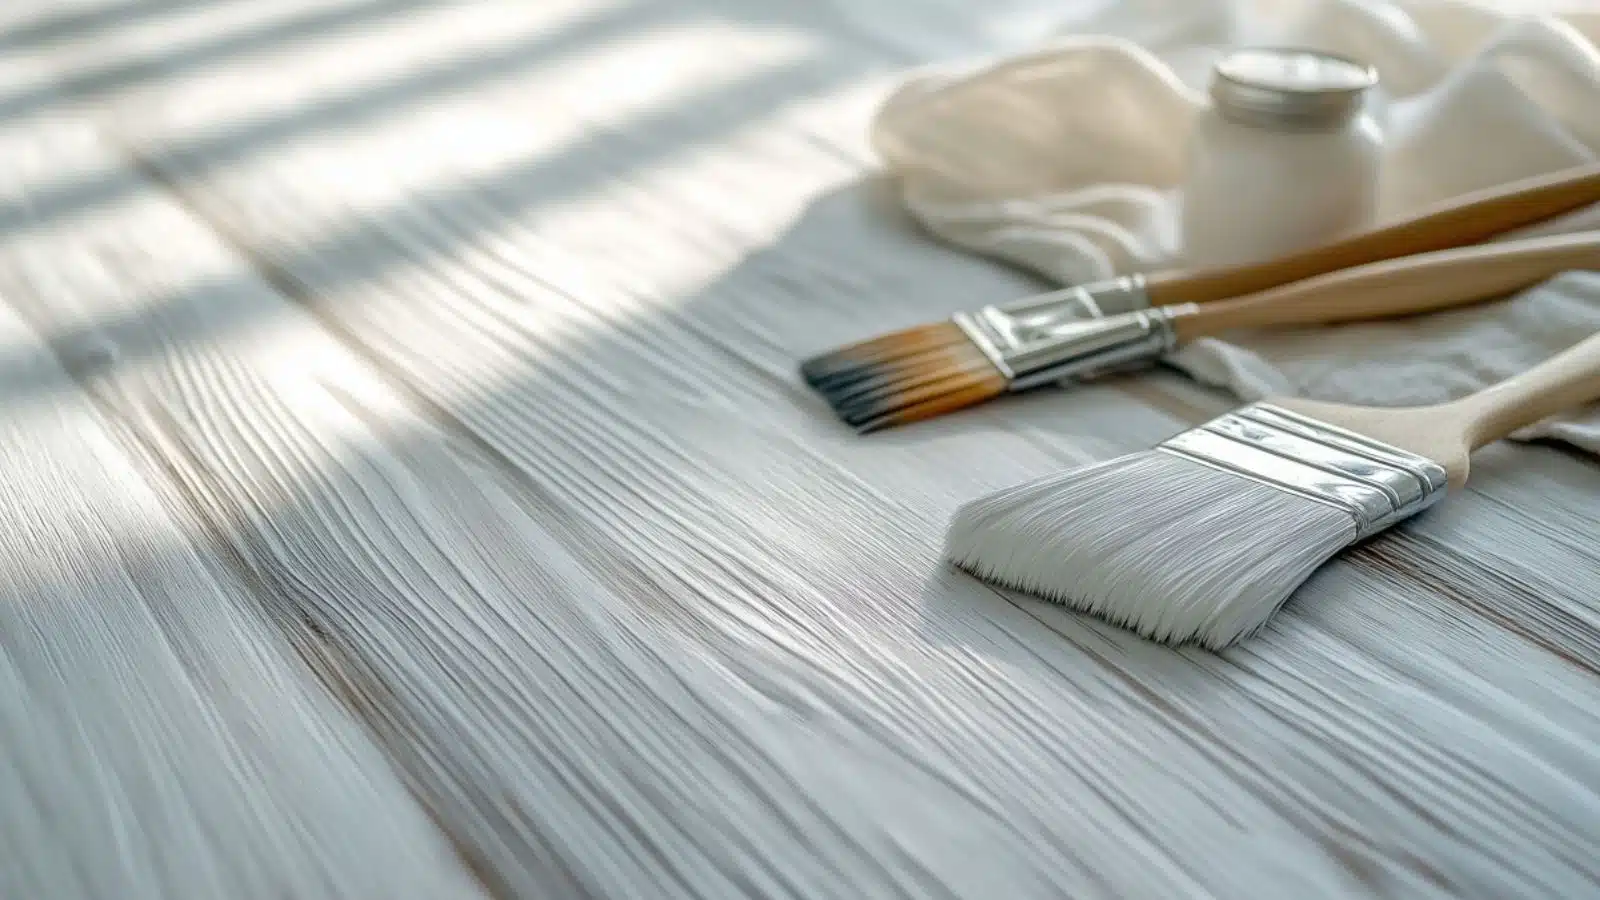
Whitewashed Kitchen Table Makeover Ideas for a Bright, Airy Farmhouse Look
Table of Contents
Imagine walking into your kitchen and being greeted by a light-drenched, welcoming space—one that feels breezy, clean, and effortlessly cozy. Whether your style leans rustic, coastal, or modern farmhouse, a whitewashed kitchen table can completely redefine the atmosphere of your dining space.
Whitewashing furniture has been a time-tested design strategy used for generations, dating back to European country cottages and American colonial homes. But today, it’s making a resurgence as a budget-friendly, high-impact way to freshen up tired wood furniture—especially in the kitchen, where light and warmth matter most.
If your kitchen table is looking a bit dark, dated, or worn but still has good bones, whitewashing is the ideal project to brighten it up without losing its natural charm. In this post, we’ll walk through everything you need to know to pull off a whitewashed kitchen table makeover, from preparation to finish, styling ideas, and even how to maintain your newly transformed piece. Whether you’re new to DIY or a seasoned home decor enthusiast, this guide is packed with practical tips, visual ideas, and elegant inspiration to help you breathe new life into your kitchen.
Why choose a whitewashed finish for your kitchen table
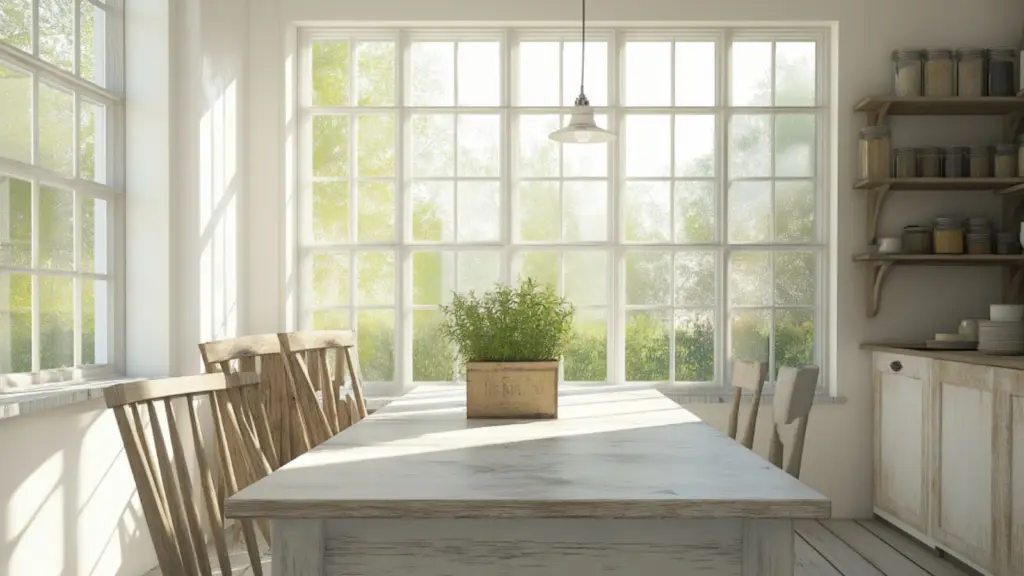
Whitewashing is more than just an aesthetic trend—it’s a way to bring light, texture, and personality to a space. Especially in kitchens, where heavy furniture can make a room feel cramped or dark, a whitewashed table offers a bright, airy alternative that still shows off the beauty of wood grain.
One of the biggest benefits of whitewashing is how forgiving and adaptable it is. Unlike fully painted furniture, a whitewashed table maintains some of the wood’s original warmth. It softens the appearance of knots, scratches, and imperfections while allowing the natural texture to peek through. It’s the perfect balance between rustic and refined.
Key advantages of a whitewashed kitchen table:
| Benefit | Description |
|---|---|
| Brightens the room | Reflects more light, making the kitchen feel larger and more inviting |
| Enhances wood grain | Adds depth and dimension to natural textures |
| Pairs with many styles | Complements farmhouse, coastal, boho, and minimalist decor |
| Budget-friendly | No need to replace furniture—just refresh it |
| Easy maintenance | Hides dust and minor wear better than darker finishes |
Step-by-step guide to whitewashing your table
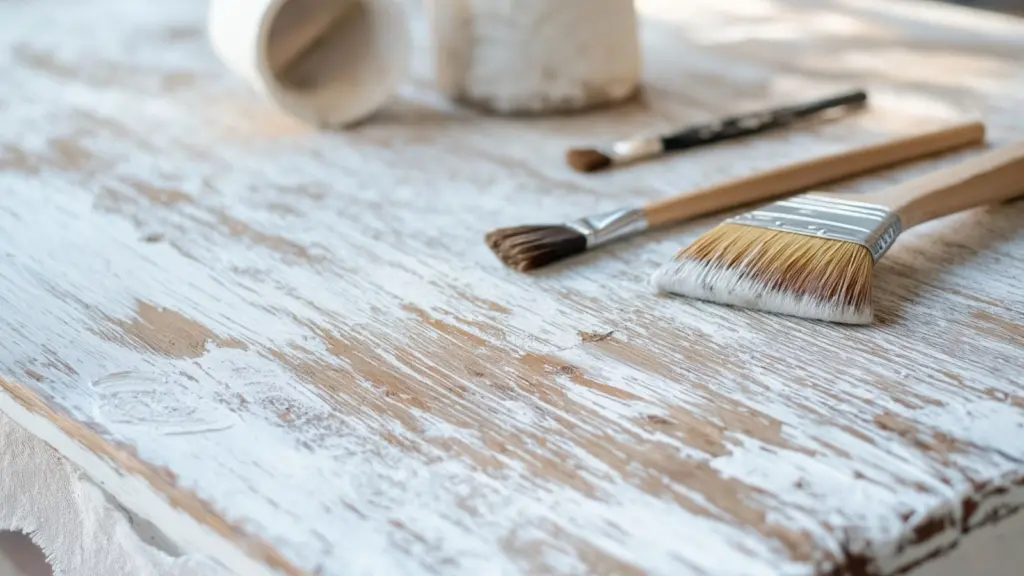
Whitewashing a kitchen table is a straightforward process, even for beginners. With a bit of prep work, the right materials, and a free afternoon, you can totally transform your furniture.
Here’s a complete walk-through of what you’ll need and how to do it.
Supplies you’ll need:
- Sandpaper (80-grit and 120-grit)
- Clean cloth or tack cloth
- White paint or whitewash stain
- Water (if diluting paint)
- Paintbrush or sponge
- Drop cloth or protective surface
- Clear wax or water-based polyurethane (optional)
Step-by-step process:
| Step | Description |
|---|---|
| 1. Prep the surface | Sand down the tabletop thoroughly to remove old finish. Clean off dust with a tack cloth. |
| 2. Mix your whitewash | Combine equal parts water and white paint (or use a pre-made whitewash stain). Adjust for more opacity if desired. |
| 3. Apply the wash | Use a brush or sponge to apply the mixture with long strokes. Wipe away excess with a rag to let the wood grain show. |
| 4. Let it dry | Wait at least 4 hours (or as directed) before applying a second coat if needed. |
| 5. Seal it | Once dry, seal with a wax or polyurethane to protect the surface and add durability. |
Choosing the right whitewash technique for your wood type
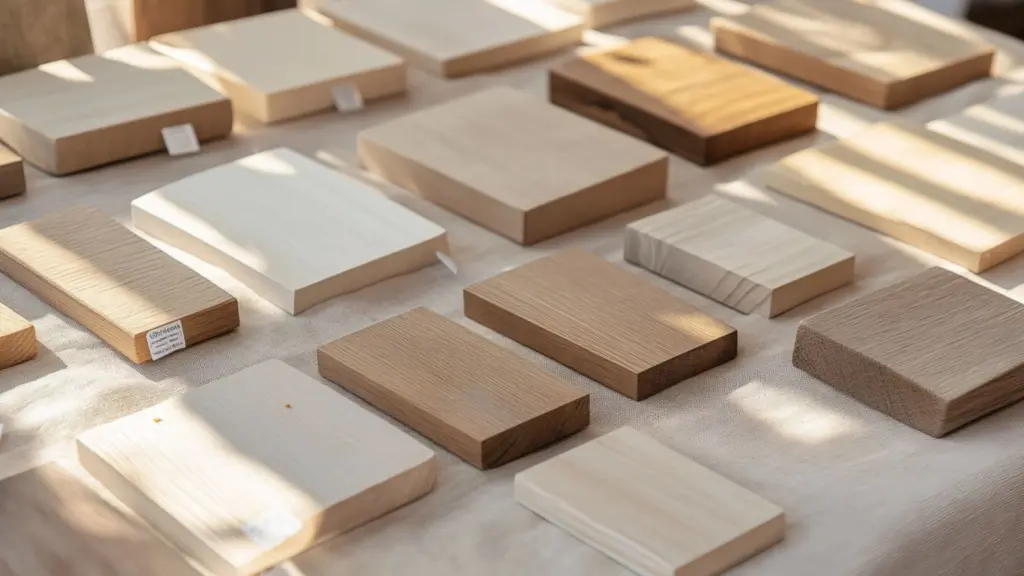
Not all wood reacts the same way to whitewashing. Understanding your table’s wood type can help you choose the best method and get the results you want—whether that’s a crisp Nordic finish or a softly aged farmhouse vibe.
Common wood types and how they take whitewash:
| Wood Type | Best Technique | Notes |
|---|---|---|
| Pine | Watered-down paint | Absorbs well, creates a rustic feel |
| Oak | Whitewash stain | Heavy grain shows through beautifully |
| Maple | Dry brushing | Even finish, less visible grain |
| Walnut | Thicker wash or limewash | Richer tones need more coverage |
| Veneer | Light dry brush | Be careful not to oversaturate |
If your table is made of a mixed wood or veneer, test a small patch on the underside before committing to your whitewash mixture. Patience and testing will pay off with a more professional look.
Styling your whitewashed kitchen table for a cozy, finished look
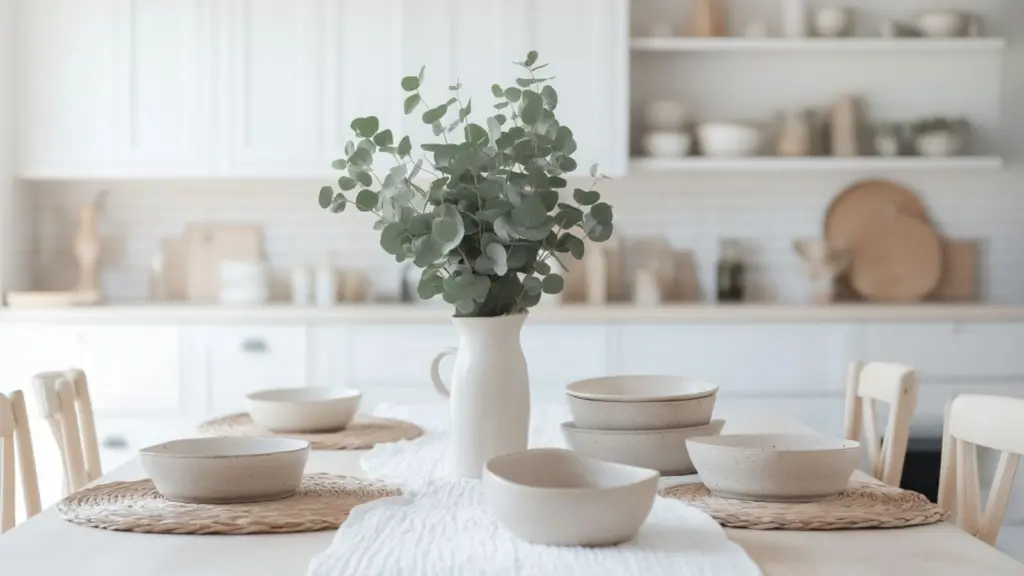
Once your table is beautifully whitewashed, the fun part begins: styling. The light, textural nature of a whitewashed finish lends itself to a range of design aesthetics—from breezy beach cottage to warm Scandinavian minimalism.
Ideas to enhance your new table setting:
| Styling Element | Description |
|---|---|
| Linen table runner | Adds soft texture and rustic elegance |
| Natural centerpiece | Try a wooden bowl of citrus, fresh eucalyptus, or a ceramic vase with dried florals |
| Neutral dishware | Off-white or stone-colored plates complement the table’s finish |
| Woven placemats | Add depth and contrast without overpowering the airy look |
| Ambient lighting | A soft-glow pendant or vintage candle holders create warmth |
Layering neutral tones with tactile elements creates a lived-in, stylish table that doesn’t feel staged or sterile. The goal is casual sophistication that feels both intentional and inviting.
Maintaining and protecting your whitewashed finish
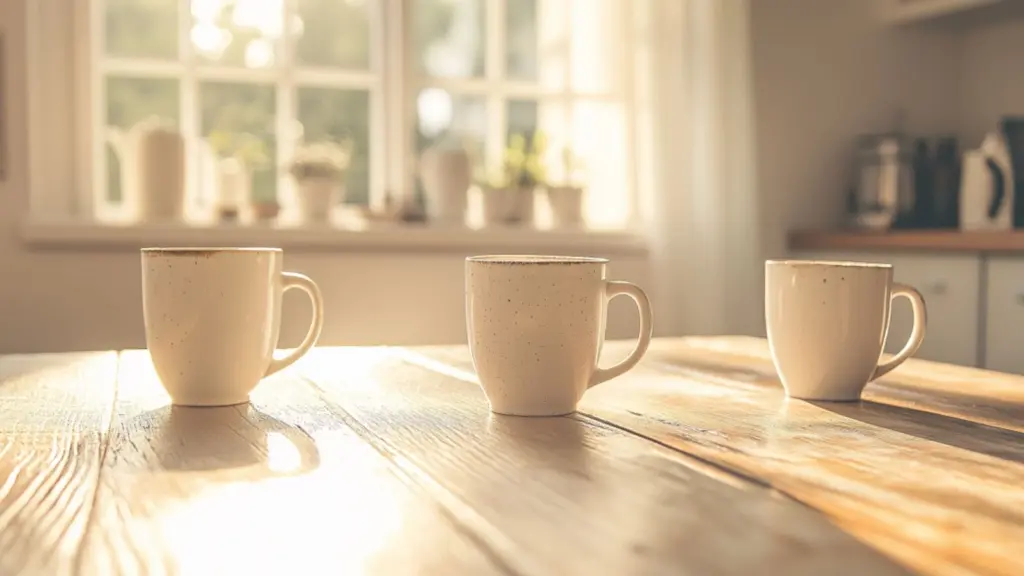
While whitewashing is forgiving, it does require a bit of care to keep your table looking its best. With the right maintenance approach, your table can stay clean, sealed, and beautiful for years to come.
Maintenance tips:
| Task | Frequency | Details |
|---|---|---|
| Wipe with damp cloth | Weekly | Use water or mild soap—avoid harsh cleaners |
| Reapply wax | Every 6 months | Keeps the surface smooth and protected from moisture |
| Avoid heat damage | Ongoing | Use trivets or placemats under hot dishes |
| Touch up worn spots | As needed | Dab with diluted paint and blend into existing finish |
If you used a matte polyurethane topcoat, it may require less frequent touch-ups than wax. Always check the manufacturer’s care guide, especially for high-use surfaces.
Troubleshooting common whitewashing mistakes
Even though whitewashing is beginner-friendly, a few pitfalls can trip up your project if you’re not prepared. Here’s how to fix and avoid common issues:
Problem 1: Finish looks streaky or patchy
This often happens when the surface isn’t sanded evenly or the paint mixture is too thick. To fix it, lightly sand the area with 220-grit sandpaper, then apply a thinner coat of whitewash and blend with a rag before it dries.
Problem 2: Wood is too dark or doesn’t lighten
Dark woods like walnut or mahogany can resist lighter washes. Try using a primer before whitewashing or go for a liming wax, which gives a similar effect while adhering better to dense grains.
Problem 3: Paint peels or chips off
If the surface wasn’t properly cleaned or sealed, the paint might not bond well. Sand back the peeling areas, wipe clean, and reapply the wash. Seal with a good-quality topcoat to prevent future flaking.
Problem 4: Whitewash turned yellow over time
This usually happens with oil-based polyurethanes or aged waxes. Use a water-based, non-yellowing sealant next time to maintain that crisp white finish.
Troubleshooting Table:
| Problem | Cause | Fix |
|---|---|---|
| Streaks | Uneven application | Sand lightly and reapply |
| Too dark | Dense wood grain | Use primer or liming wax |
| Chipping | Poor prep | Clean and reseal |
| Yellowing | Wrong topcoat | Use non-yellowing sealant |
Bringing harmony—coordinating your whitewashed table with the rest of your kitchen
A beautifully whitewashed table can become the centerpiece of your kitchen, but to really make it shine, consider how it works with surrounding elements. From cabinetry to flooring, a cohesive look brings that magazine-worthy charm.
Balance with cabinetry and floors
If your kitchen cabinets are dark, a whitewashed table can offer welcome contrast. Light flooring pairs best with whitewashed furniture, but if you have dark wood floors, balance them with a light area rug under the table.
Consider lighting and textures
A pendant light over your whitewashed table adds a focal point and can tie the room together. Choose fixtures in warm brass, matte black, or rattan for complementary tones. Layer the space with soft textiles—curtains, rugs, cushions—to offset the wood’s cooler finish.
Add organic elements
Greenery is your friend here. A whitewashed table practically begs for a centerpiece of fresh herbs, potted succulents, or a bowl of lemons. It brings life to the neutral palette.
Cohesive Kitchen Look Table:
| Element | Tip |
|---|---|
| Cabinetry | Dark or painted looks great beside whitewashed wood |
| Flooring | Light tones complement; darker floors need balance with light rugs |
| Decor accents | Stick with natural materials: linen, ceramics, wood |
| Lighting | Soft-glow or vintage fixtures help enhance warmth |
Conclusion
A whitewashed kitchen table isn’t just a furniture update—it’s a full transformation of your space’s atmosphere. It softens, brightens, and adds a touch of rustic charm that feels timeless and fresh. Whether you’re reinventing a thrifted piece or breathing new life into a family heirloom, whitewashing offers a perfect blend of practicality and beauty.
From prepping the wood and choosing the right technique, to styling your space and maintaining that freshly-finished glow, each step of the process brings your kitchen closer to a serene, airy haven. With a little care and creativity, your whitewashed table will not only become the heart of your home—but a proud project that reflects your personal style.

