How to DIY a Funky Bathroom Feature Wall
Table of Contents
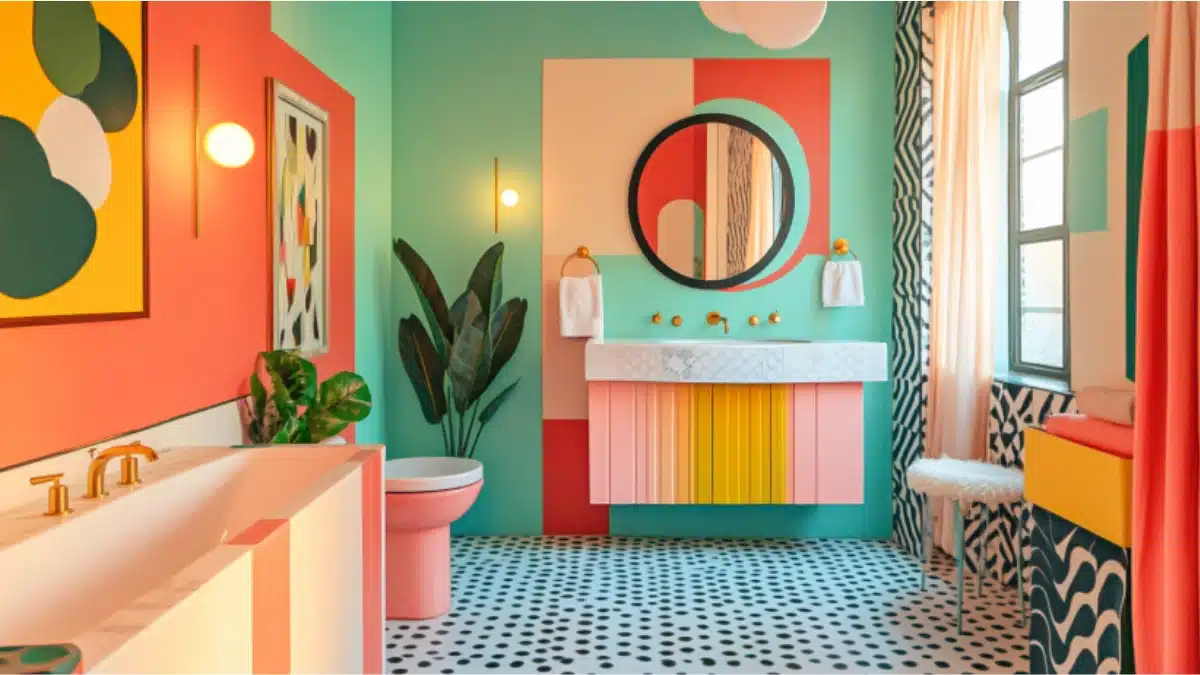
When it comes to personalizing your home, the bathroom often gets overlooked—but it shouldn’t. One of the simplest yet most impactful ways to elevate this space is with a DIY funky bathroom feature wall. Whether your style is maximalist, boho-chic, or bold and eclectic, a feature wall allows you to make a creative statement without redoing the entire bathroom.
According to recent home design trend reports, vibrant and expressive bathrooms are making a comeback. From geometric tile layouts to vivid wallpaper, this space has become a canvas for color, texture, and personality. A funky feature wall doesn’t just add aesthetic interest; it can also increase your home’s value and reflect your individual taste.
In this blog post, we’ll walk you through everything you need to know about creating your own standout bathroom feature wall. You’ll discover practical design inspiration, learn about the best materials and tools, explore step-by-step project guides, and pick up expert tips for a flawless finish. Whether you’re working with a tiny powder room or a full master bath, these ideas will help you turn a blank wall into a vibrant focal point.
Choose Your Funky Style: From Retro to Boho
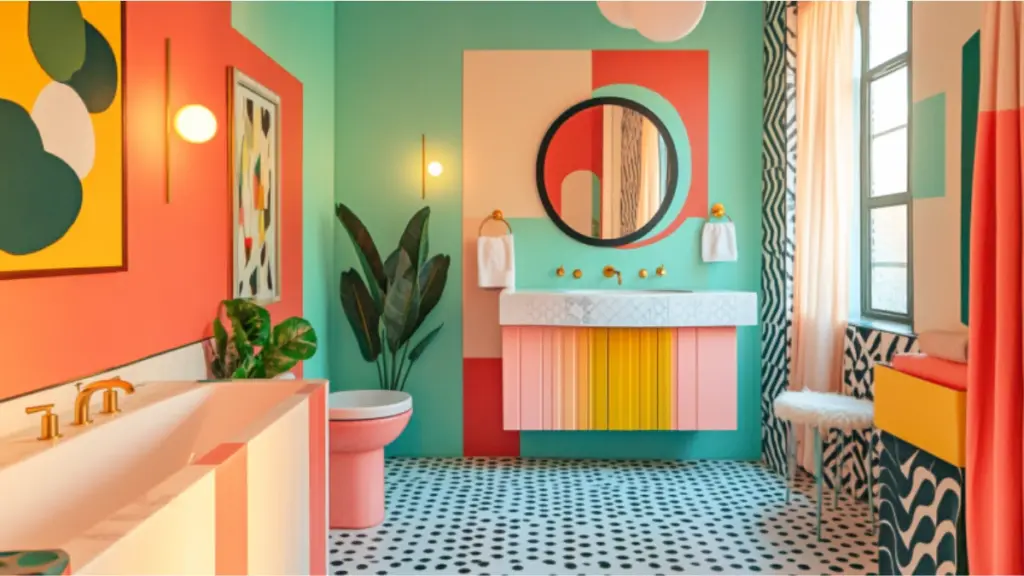
Before you start hammering or pasting anything, define your design direction. Funky doesn’t have to mean chaotic—it simply means expressive and outside the box. Popular funky styles include retro, bohemian, maximalist, and abstract art-inspired themes. Choose a style that complements your existing decor while adding contrast.
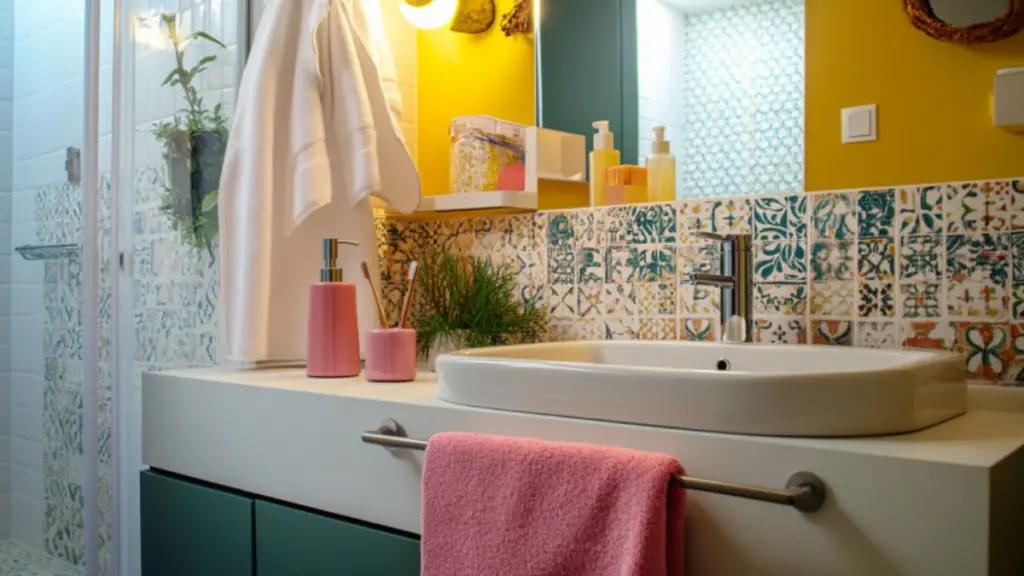
Think about color palettes. A retro wall might feature mustard, teal, and rust hues, while boho designs lean into earthy tones and layered textures. You can also play with shapes—curves, checkerboards, and wavy patterns are especially on-trend.
Design Style
| Style | Color Palette | Common Elements | Works Best With |
| Retro | Teal, mustard, coral | Bold patterns, vintage prints | Mid-century decor |
| Boho | Terracotta, sage | Tapestries, organic textures | Natural wood, greenery |
| Maximalist | Bright, contrasting | Clashing patterns, gallery walls | Eclectic or colorful decor |
| Abstract | Pastels, neons | Murals, painted shapes | Minimalist furniture |
Pick the Right Materials for Maximum Impact
Once you’ve nailed down the style, it’s time to choose the materials. Your options depend on your budget, skill level, and wall condition. Wallpaper is a fast favorite for funky styles, especially peel-and-stick varieties that are renter-friendly. If you’re comfortable with more labor, consider painting a custom mural, using tile, or applying wood panels in a playful arrangement.
Materials Comparison Chart
| Material | Pros | Cons | Ideal For |
| Peel-and-stick Wallpaper | Easy, renter-friendly, temporary | May peel in high humidity | Temporary upgrades |
| Paint & Stencils | Fully customizable, budget-friendly | Requires precision and time | Creative, DIY-savvy users |
| Ceramic Tile | Durable, water-resistant | Requires cutting and grout skills | Permanent upgrades |
| PVC Panels / 3D Panels | Textural and modern | Can be expensive and heavy | Contemporary styles |
Prep Your Wall Like a Pro
Even the funkiest design will fall flat if the wall underneath isn’t properly prepped. Start by removing any existing hooks, fixtures, or hardware. Patch holes with filler, sand down any rough patches, and clean the surface thoroughly to ensure your materials adhere well.
If you’re painting, consider applying a primer, especially if you’re covering a dark color. For wallpaper or tiles, make sure the wall is smooth and dry. Measure everything at least twice, especially for repeating patterns or tile layouts.
Wall Prep Checklist
| Task | Tools Needed |
| Remove hardware | Screwdriver, pliers |
| Patch and sand imperfections | Spackle, putty knife, sanding block |
| Clean the surface | Sponge, mild soap, water |
| Apply primer (if needed) | Primer, roller brush |
| Measure and mark layout | Tape measure, level, pencil |
Creating a Painted Mural Wall
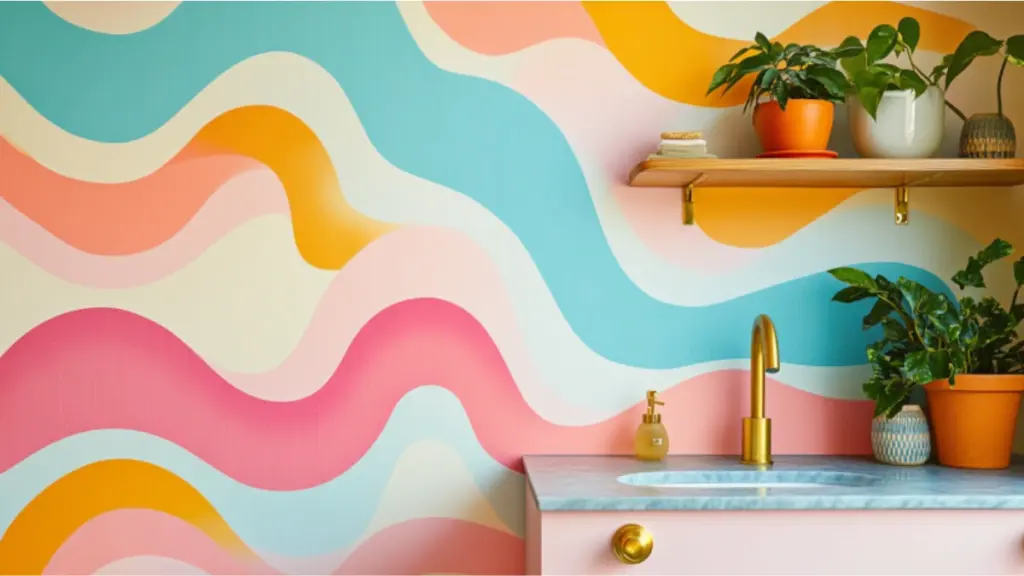
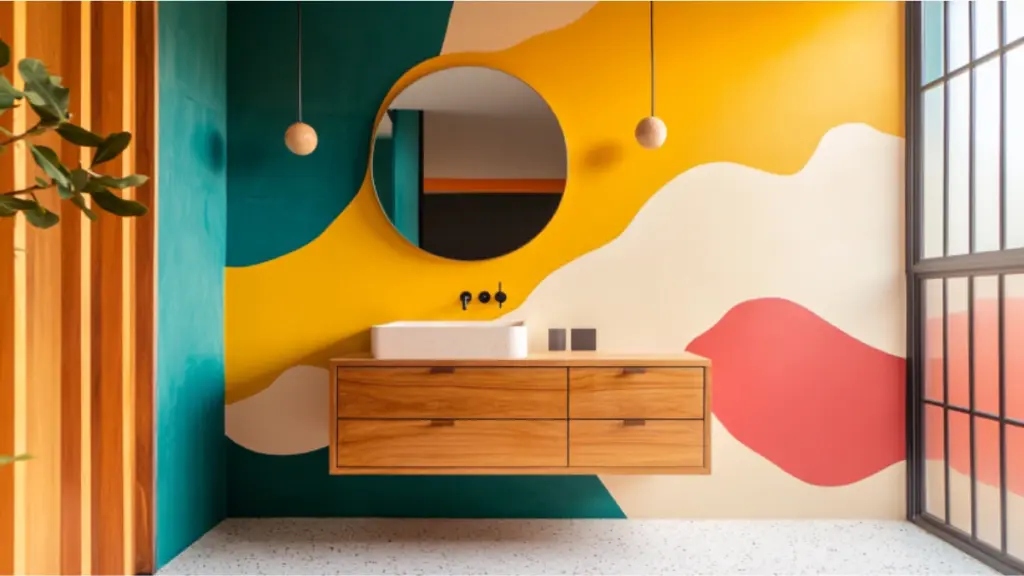
This expanded section walks you through the process of painting a custom mural—an affordable, endlessly creative option. You don’t need to be an artist to create a stunning result. Abstract shapes, color blocking, or wavy lines are beginner-friendly and add serious style.
Steps for a DIY Painted Mural Wall
| Step | What You Need |
| 1. Plan your design | Sketchbook, inspiration photos |
| 2. Tape the outlines | Painter’s tape, level, pencil |
| 3. Choose bold colors | Paint sample jars, palette guide |
| 4. Fill in the sections | Paintbrushes, small rollers |
| 5. Clean edges & remove tape | Razor blade, clean rags |
| 6. Seal (optional) | Matte top coat or clear varnish |
Pro Tips:
- Use a projector to trace if freehand isn’t your strength.
- Go for contrast: a mustard shape on a navy wall pops beautifully.
- Consider layering patterns (e.g., dots on top of color blocks) for added depth.
Add Texture with Tile or 3D Wall Panels
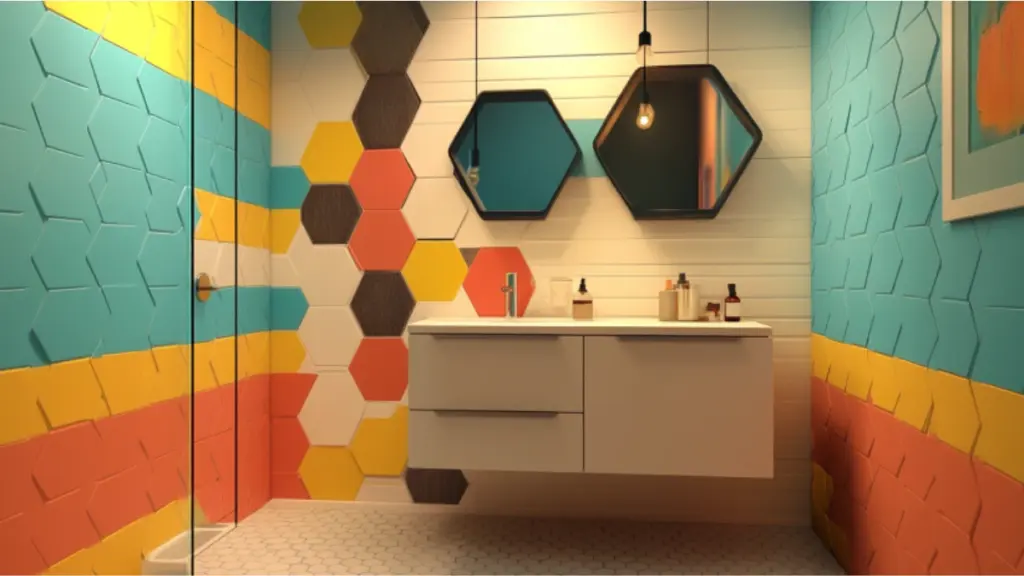
Another expanded option for a funky bathroom wall is using texture. Tile—especially in unique shapes or colors—creates depth and adds tactile interest. Even a simple hex tile in a wild color can transform the space. For a modern twist, try 3D PVC panels in wave, cube, or geometric motifs.
Pros and Cons Table for Textural Options
| Option | Pros | Cons | Style Compatibility |
| Ceramic Tile | Waterproof, timeless, colorful | Grouting can be tricky | Retro, Art Deco, Eclectic |
| 3D PVC Wall Panels | Eye-catching, lightweight | Needs adhesive, can warp | Modern, Minimalist, Futuristic |
Installation Tips:
- Use contrasting grout for extra pop (e.g., white tile with black grout).
- Install from bottom up to ensure level alignment.
- Always dry-lay tiles before securing them.
Accessorize to Elevate the Funk
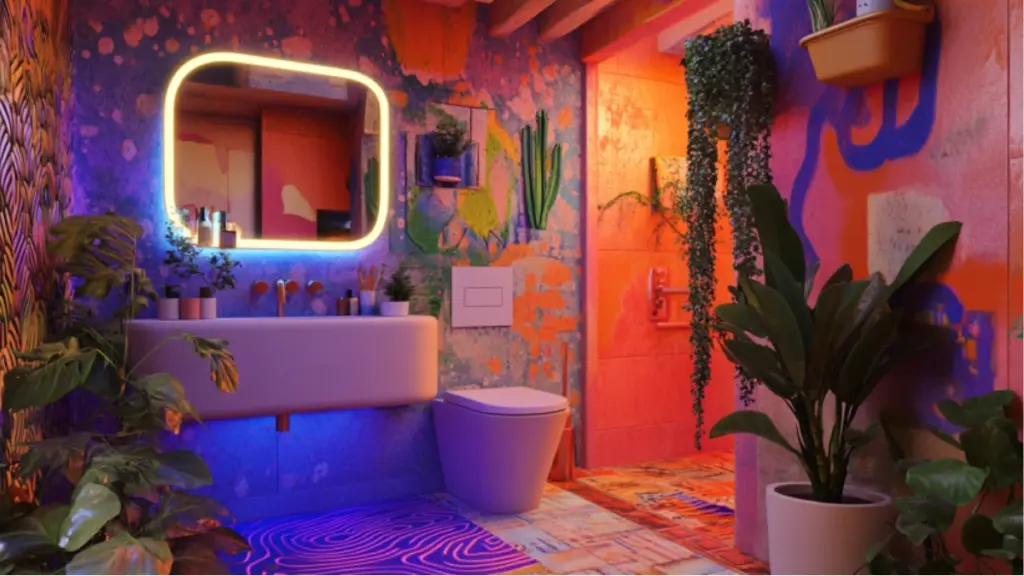
After the main wall is complete, accessorize thoughtfully to tie the entire look together. Floating shelves, statement mirrors, unique light fixtures, and plants add layers without crowding the space. Mix vintage and modern items for an effortlessly funky vibe.
Accessory Ideas Chart
| Accessory Type | Description | Style Tip |
| Mirror | Oversized, unusual shapes | Try a squiggle frame or iridescent finish |
| Shelves | Floating wood, painted brackets | Paint the shelves to match mural shades |
| Lights | Sconces, globe lights, LED strips | Use colored bulbs for extra mood |
| Art & Prints | Bold typography, retro graphics | Coordinate with wall palette |
| Plants | Low-light greenery like snake plants | Choose funky pots or wall planters |
Make It Functional and Stylish
Function should never be sacrificed for form. Your feature wall still needs to work with the space. Add hooks, towel bars, or niches that match the funky theme but support daily routines. If you’re using bold patterns or colors, balance them with practical storage.
Function + Style Integration
| Feature | Functional Use | Funky Twist |
| Towel Bar | Holds hand or bath towels | Painted to match mural tones |
| Niche/Shelf | Stores soaps and accessories | Tile inside with fun contrast |
| Wall Hooks | Hanging robes or plants | Use novelty shapes or mixed metals |
Conclusion
A funky bathroom feature wall is more than just a decorative upgrade—it’s a creative invitation to infuse your personality into an often-forgotten space. From retro wallpaper to DIY murals and textured tiles, the options are endless and achievable. With the right preparation, tools, and a little inspiration, you can turn any plain wall into a standout focal point that sparks joy every time you step inside. Let your bathroom be a reflection of your bold style, and don’t be afraid to play with color, texture, and pattern—after all, that’s what funky is all about.
