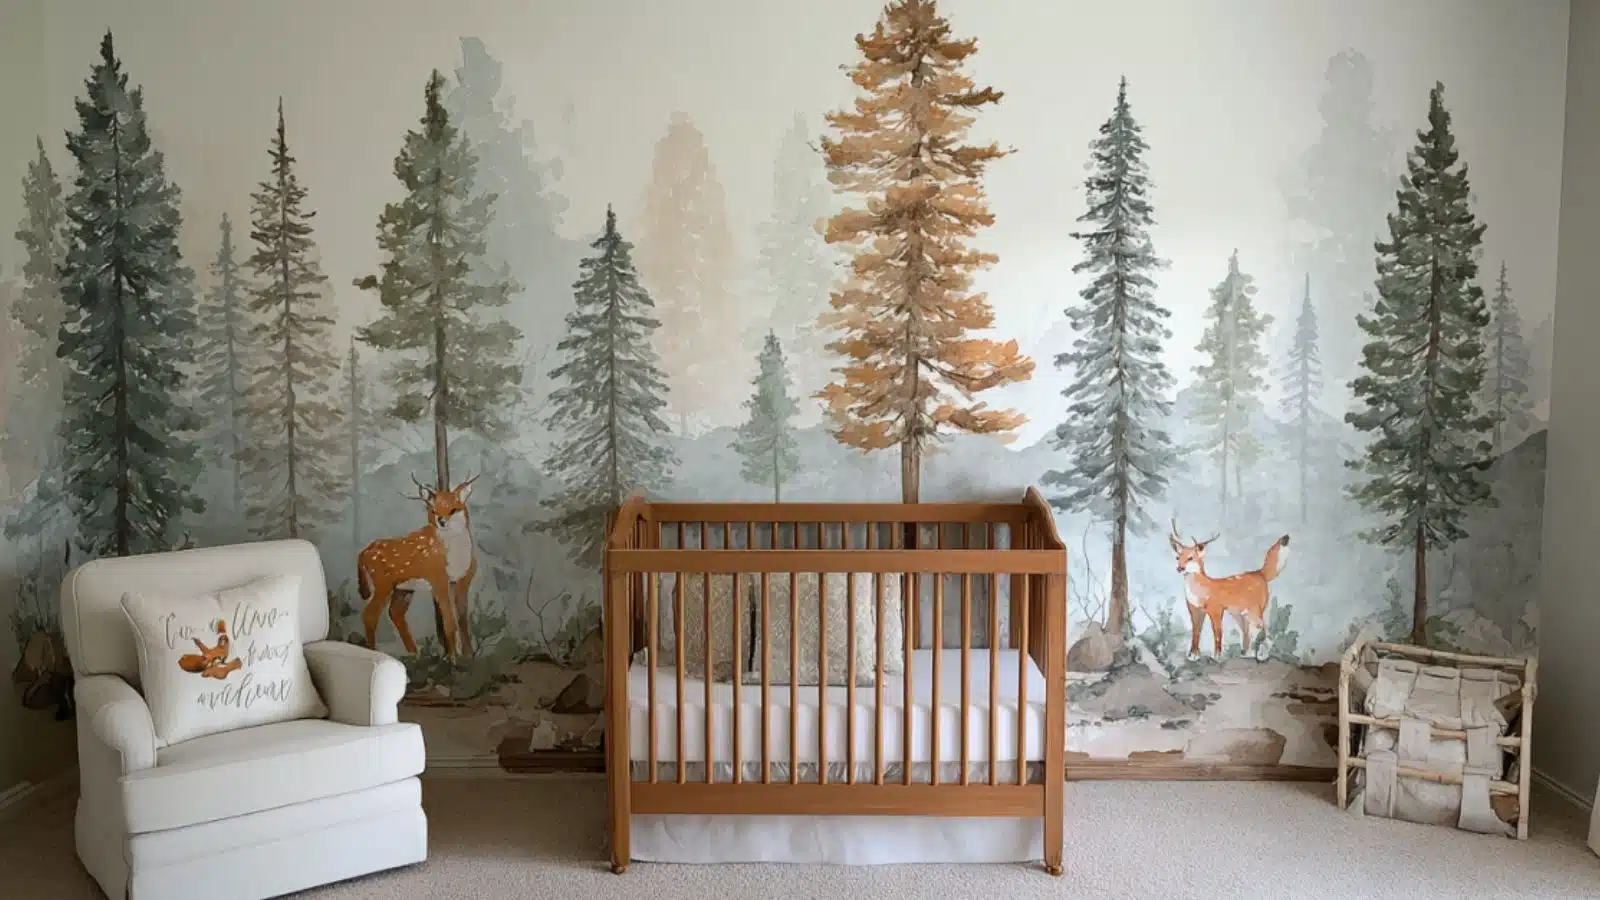
DIY Baby Boy Nursery Woodland Wall Decor Projects
Table of Contents
A baby’s nursery is more than a space for sleep—it’s a nurturing environment that shapes their earliest memories. And when it comes to themes that blend warmth, creativity, and nature, few styles are more beloved than the woodland baby nursery. With its earthy palette, charming forest creatures, and handcrafted charm, this aesthetic is perfect for baby boys and offers endless possibilities for DIY wall decor.
Recent interior trends show a rising preference for nature-themed nurseries, with woodland styles being among the most searched for gender-neutral or boy-specific spaces. Parents love the balance it strikes—calming yet full of personality, grounded yet magical. And with so many adorable DIY ideas, it’s easier than ever to customize your baby’s room while staying within budget.
In this guide, we’ll walk through a variety of DIY baby boy nursery woodland wall decor projects you can create at home. From hand-painted forest murals to rustic shelves and felt animal art, each section includes step-by-step guidance, materials breakdowns, and MidJourney visual prompts to inspire your creativity. Whether you’re going all in on a forest theme or just want a few cozy woodland accents, these ideas will help you build a room that feels just right.
Paint a Soft Woodland Mural as a Focal Wall
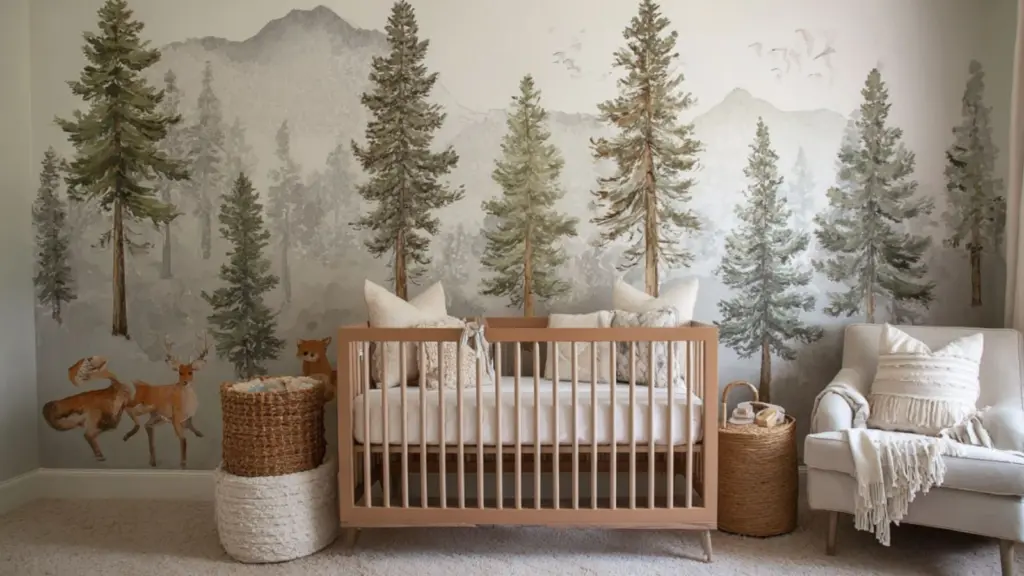
A wall mural instantly transforms any nursery into a storybook scene. You don’t need to be a professional artist—simple shapes, soft gradients, and a limited color palette go a long way. A DIY woodland mural sets the tone for the entire room while offering a gentle, imaginative backdrop for baby.
Steps to create a hand-painted woodland mural:
| Step | Details |
|---|---|
| Choose your palette | Soft greens, browns, warm gray, and muted blues for a calming, earthy look |
| Sketch the scene | Lightly outline trees, hills, animals, and clouds using chalk or pencil |
| Paint base layers | Start with large background areas like sky and trees |
| Add details | Use smaller brushes for animals, mushrooms, or falling leaves |
| Seal if needed | Use a low-VOC sealant to protect and preserve the paint |
You can keep the design minimalist with silhouettes and neutral tones or add more character with cute animal illustrations like foxes, owls, and bears.
Felt Animal Wall Hangings for a Soft, Handmade Touch
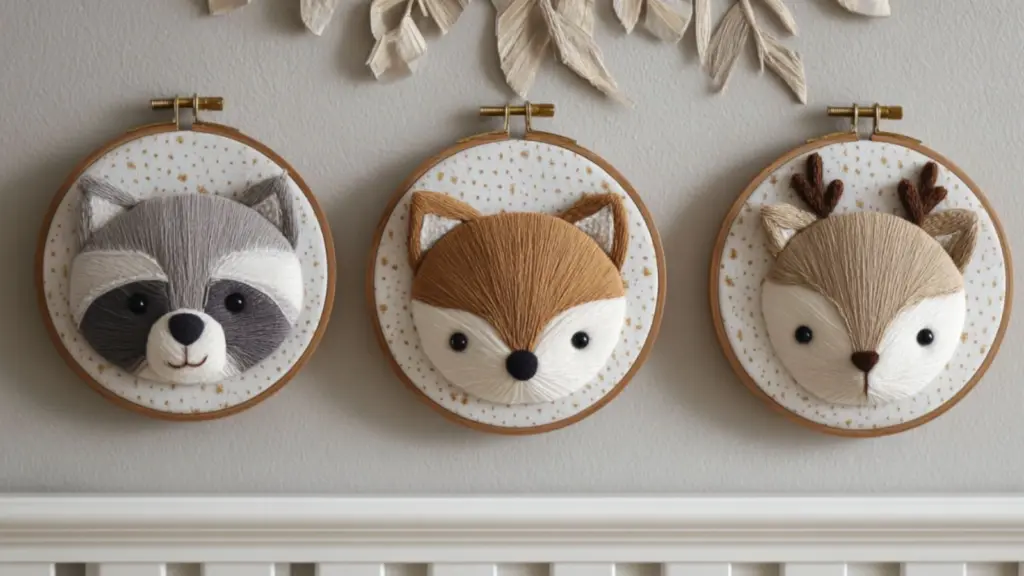
Felt wall hangings bring softness and dimension to a nursery—perfect for adding texture while keeping things baby-safe. These DIY projects are beginner-friendly and endlessly customizable.
How to make DIY felt animal wall art:
| Materials Needed | Crafting Tips |
|---|---|
| Assorted felt sheets | Use browns, tans, grays, white, and forest green for a woodland palette |
| Embroidery hoop or canvas | Choose size based on wall space |
| Scissors and hot glue | Fabric glue also works for no-sew versions |
| Templates or stencils | Find printable woodland animal templates online |
| Optional: stuffing or batting | Adds 3D effect for plush-style art |
Instructions:
- Cut out animal shapes (like bears, raccoons, owls, or foxes) from felt using stencils.
- Layer and glue felt pieces to build your animal, adding eyes, nose, and ear details.
- Attach your felt creation to a canvas, embroidery hoop, or hanging string banner.
- Optionally, frame the final piece or attach to a wooden dowel with twine for a banner-style display.
Mix multiple animals across several small frames or hoops to create a playful wall gallery. Felt wall hangings are perfect over the crib or changing table, and they can grow with your child as part of a themed reading nook later on.
Create a Wood Slice Name Sign for a Rustic Personalized Accent
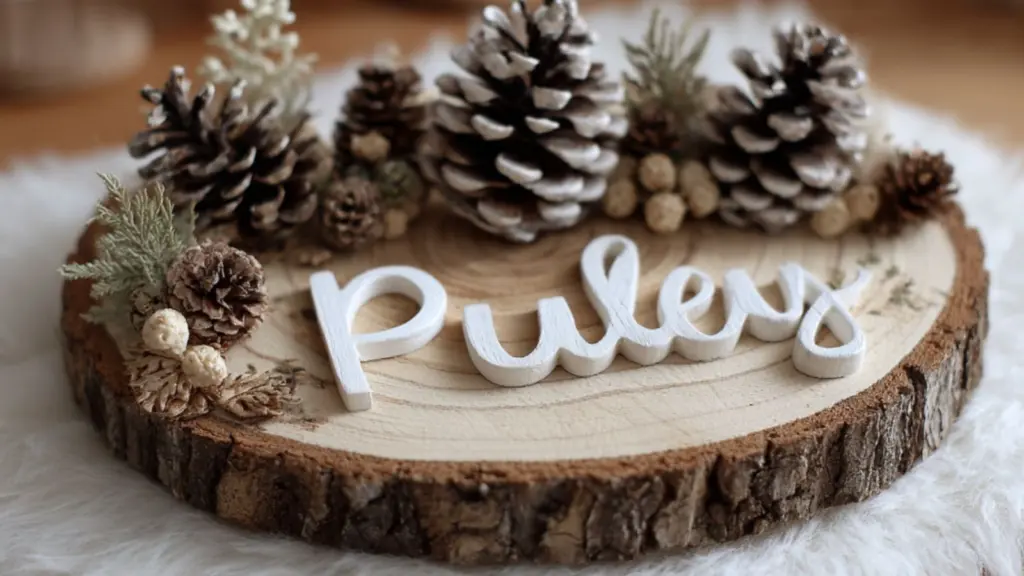
Personalized name signs are a charming addition to any nursery wall. Using natural wood slices brings the outdoors in and enhances the rustic woodland feel. This project is simple, customizable, and makes a great keepsake.
How to craft a rustic name sign:
| Supplies | Notes |
|---|---|
| Wood round or slice | Can be purchased pre-cut and sanded from craft stores |
| Acrylic paint or wood burner | Use soft white or charcoal paint for contrast |
| Stencils or vinyl letters | Guide your lettering if hand-painting feels tricky |
| Hanging hardware | Attach sawtooth hangers or jute rope for display |
Paint or burn your baby’s name into the wood surface, then decorate with pinecones, faux moss, or tiny woodland creatures for extra flair. This piece works beautifully centered above the crib or dresser.
Install Floating Rustic Shelves with Decorative Accents
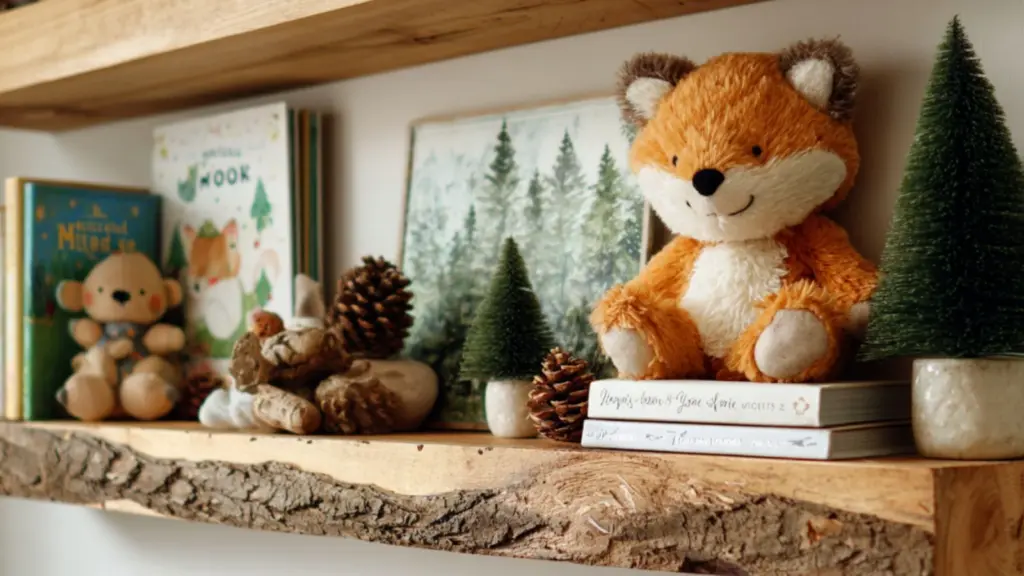
Functional and decorative, floating shelves provide space to display books, toys, and themed accents. When styled correctly, they also contribute to your woodland wall decor by layering texture and tone.
Rustic shelf styling guide:
| Item Type | Suggestions for Woodland Theme |
|---|---|
| Books | Choose nature-themed or animal storybooks |
| Plush toys | Small forest animals—squirrels, foxes, bears |
| Miniature décor | Pinecones, faux moss, wooden tree figurines |
| Framed prints | Include forest quotes or animal illustrations |
Choose reclaimed wood or distressed finishes for a rustic look. Vary the shelf heights and decorate with intention to keep the space organized yet whimsical.
Woodland Silhouette Wall Art with Stencils
Silhouette art is an elegant and impactful way to add woodland charm without overwhelming the space. With the help of stencils or a Cricut machine, you can create clean, graphic artwork that feels both modern and cozy.
Steps to create silhouette wall art:
| Tools & Materials | Tips and Variations |
|---|---|
| Stencils or pre-cut vinyl | Choose foxes, bears, trees, mountains, or owls |
| Canvas, wood panel, or board | Pick a size appropriate for your wall space |
| Acrylic paint or spray paint | Use matte or chalk finish for a softer appearance |
| Painter’s tape | Helps keep lines clean when layering stencils |
Instructions:
- Paint your canvas or board with a base color (white, beige, or charcoal work well).
- Once dry, place your stencil securely using painter’s tape.
- Paint over the stencil using a gentle dabbing motion to prevent bleeding.
- Remove stencil carefully and let it dry completely.
- Add additional accents like stars, moon cutouts, or border patterns if desired.
These pieces look great in sets of two or three and can be hung in a row or in a gallery-style layout. For added personalization, include your child’s initials or a favorite woodland quote.
Use a Wall Decal Tree as the Nursery Centerpiece
If painting a mural feels daunting, wall decals are a great alternative. Tree decals act as large-scale anchors for your woodland theme and can be enhanced with additional 3D or fabric elements.
Tree decal enhancement ideas:
| Add-On Element | Description |
|---|---|
| Fabric leaves | Attach with Velcro or sew onto a felt tree for tactile appeal |
| Plush or paper animals | Nestle squirrels, owls, or foxes around the tree base |
| String lights | Weave soft white fairy lights into the tree outline for a magical glow |
| Cloud or star decals | Extend the design into the ceiling area for a full wall-to-sky effect |
Choose neutral or muted green tones to keep the design calm and nap-friendly. These decals can be repositioned as your child grows, making them an ideal low-commitment DIY project.
Conclusion
Designing a DIY baby boy nursery with woodland wall decor is a beautiful way to blend natural textures, soft tones, and imaginative details. Whether you hand-paint a mural, hang felt animals, or craft a personalized name sign, each element adds warmth and storybook magic to your little one’s space.
By combining rustic materials with whimsical designs, you’ll create a room that’s as cozy as it is creative—one that grows alongside your baby and invites wonder into every corner. With these project ideas and a little DIY spirit, your nursery will become a true woodland retreat.

